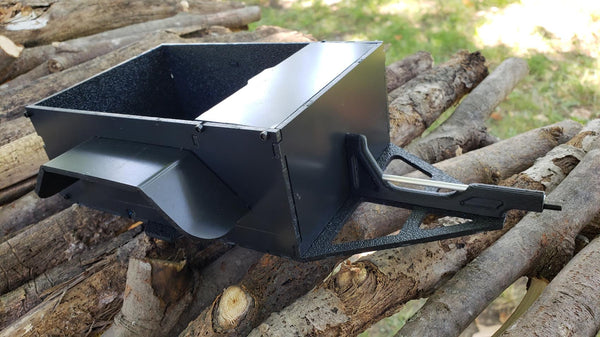


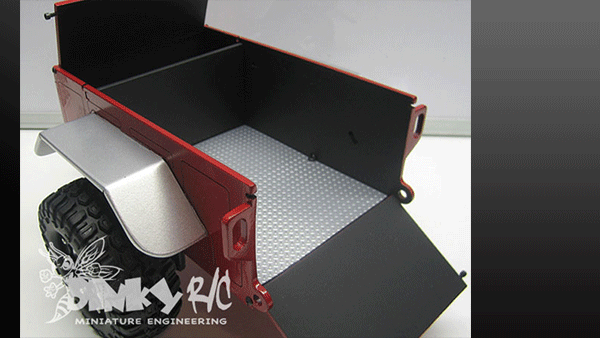
Constructed from ABS, and designed around using most 1.9 wheel/tire combinations.
It comes partially assembled to insure proper fitment, and ready for your customization.
Requires common ABS adhesive, and utilizes stock Axial parts for completion.
OR
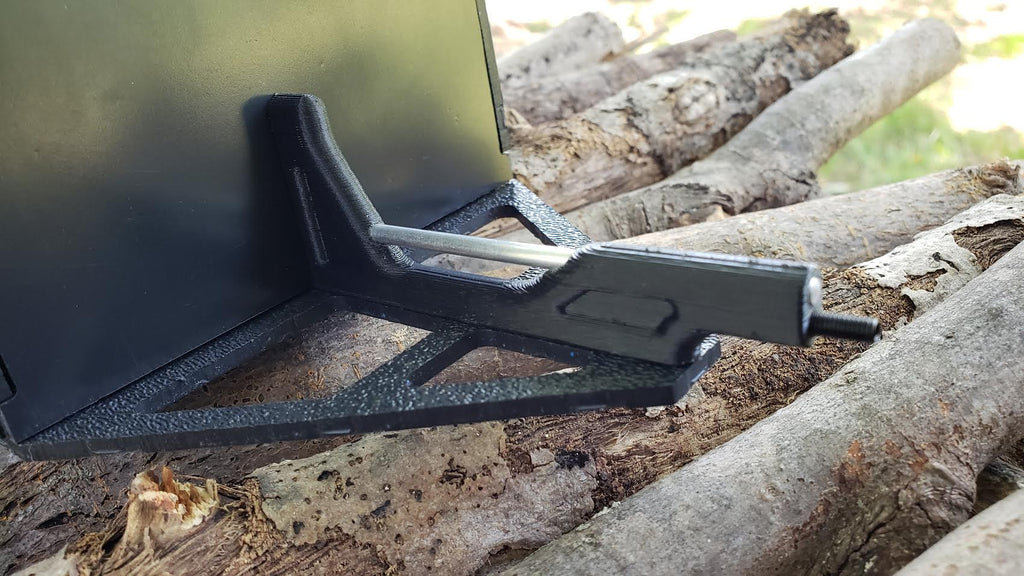
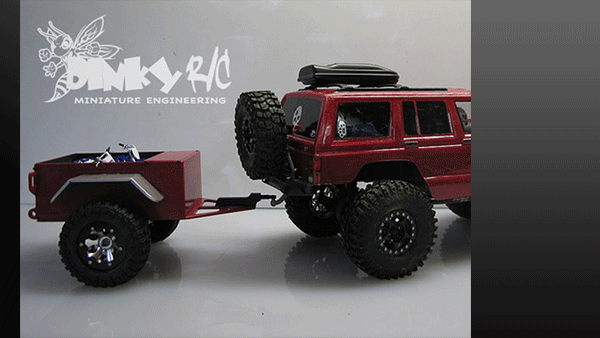
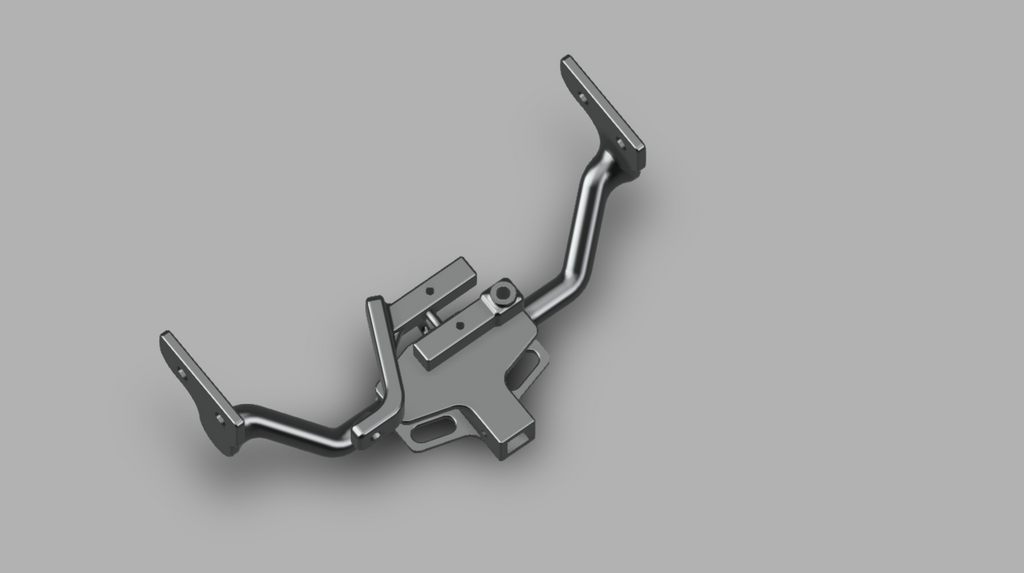
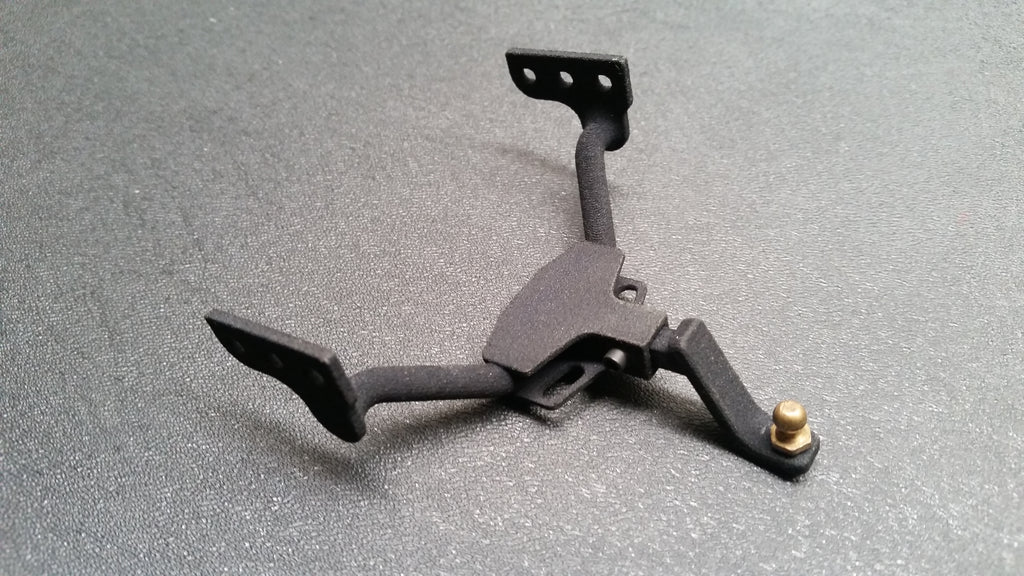
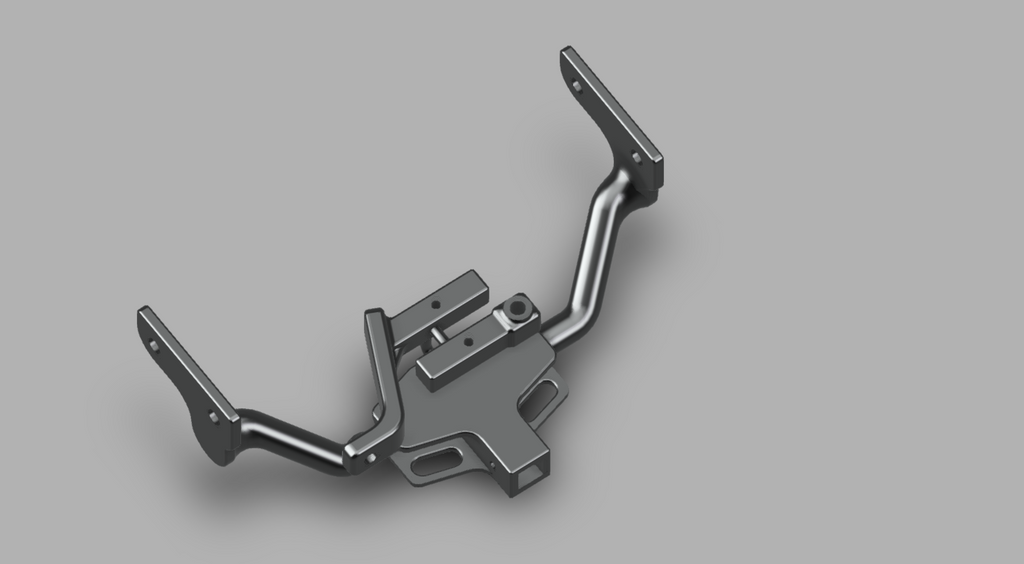
It can also use our Universal Trailer Arm Kit!
Which is now available as a COMBO!
More info for the Universal Trailing Arms
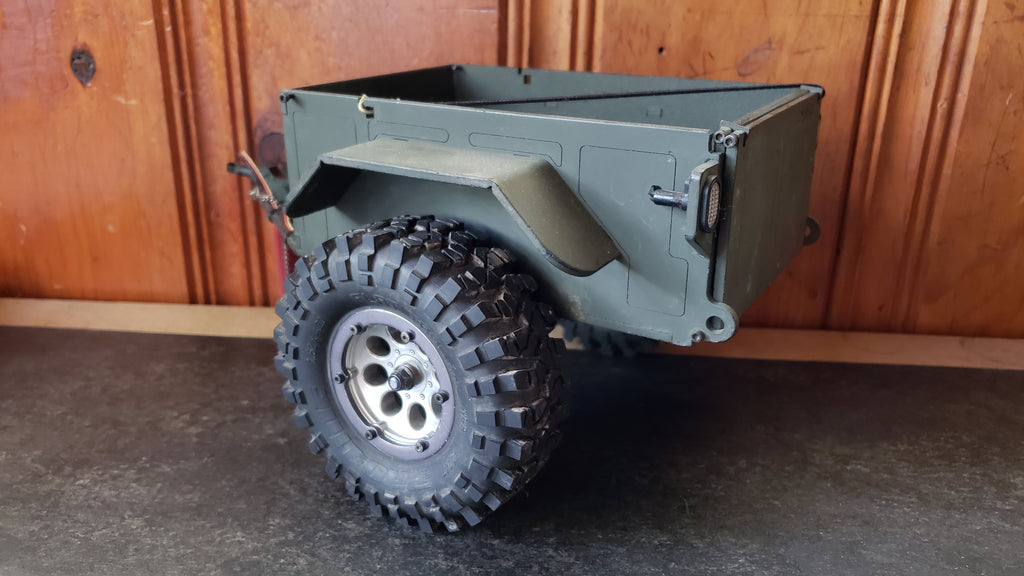
They can be left black, or you can paint to match your vehicle,
with most common spray paints!
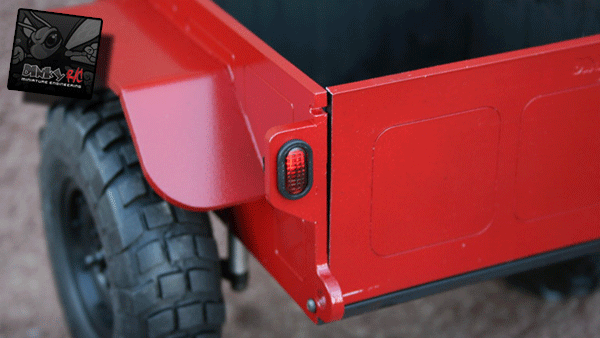
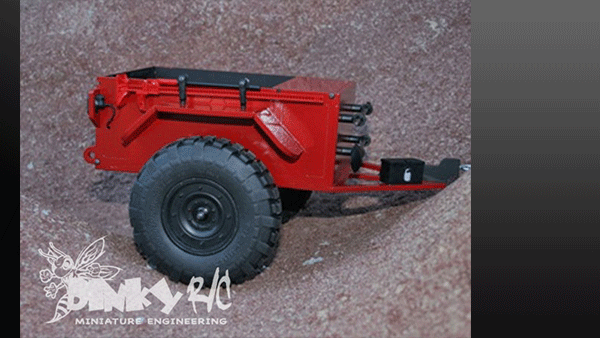
Rear light tabs are sized to fit Axial brand rear oval LED brake lights.
NEW "Blank" Rear Light tabs are now also included, to install YOUR choice of Lights.
3mm stud is also provided to attach your choice of ball end for hitching up to your scale rig.
NEW T6 Aluminum reinforced 3D Printed Tongue now included!
As well as most hardware to complete attachment of Axial knuckle assemblies.
Axial part #'s required for completion...
Knuckles, Axle stubs, bearings, hexes, lock-nuts, etc.
Instructions below


INSTRUCTIONS:
The trailer glues together best with some ABS pipe glue.
I like to use a toothpick for accurate application and best results.
If you plan to paint, best to scuff the surface while it's taken apart, just
makes it easier. Most regular old Krylon paints work fine.

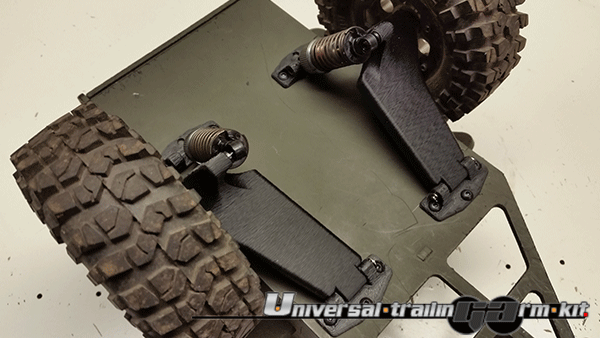
For the axles, you will need everything from the knuckles out from an Axial axle.
Knuckle, bearings or bushings, axle stub, pin, hex, and of course your wheels and tires of choice.
All necessary hardware is included in the trailer kit.
Put the 25mm bolts in from the top, in the hole that interferes with the side panels of the trailer.
Then position the knuckles so that the steering arm portion of them faces rearward.
Next, slide the nylon spacer up onto the 25mm bolt.
Then, align your knuckle to the most outward hole in the steering arm portion of the knuckle.
Next, use the 8mm socket head bolts to pass thru the "kingpin" area of the knuckle,
inserting them thru the bottom of the knuckle, pointing upward in relation to the trailer.
Your driver should pass thru the bottom hole of the knuckle for access to the top hole,
and you cannot have the axle stub in place yet.
Now you should be able to slide the axle stub into the bearings,
and insert the drive pin, hex, and Wheels and tires.
Using a common allen wrench or "L" wrench comes in handy
for holding the axle stub while tightening your wheel nuts.


